Step by Step Free Online Design Tool
Print Signs Quick offers a convenient and user-friendly free online design tool that empowers you to create custom designs for your products from scratch. Whether you're looking to craft eye-catching banners, signs, or promotional materials, this intuitive platform provides all the resources you need, including a vast library of free stock images and customizable templates. The tool is designed to be accessible, regardless of your graphic design experience. To help you make the most of this powerful feature, we've put together a detailed tutorial that guides you through every step of the design process. This tutorial ensures you can easily navigate the tool and bring your creative visions to life, enhancing your marketing efforts with professionally designed materials.
Below are two ways to access the Design Tool.
Below are two ways to access the Design Tool.
On your computer:
Click on the Design Tool at the top of any page and then select your product from the drop down list.
Or if you are on a product page, enter the product size, options and quantity and then click on Create Design.
Click on the Design Tool at the top of any page and then select your product from the drop down list.
Or if you are on a product page, enter the product size, options and quantity and then click on Create Design.


If you are on your phone, you can still access the Design Tool, just know that it's much easier to use on the computer.
Just click on the three lines in the upper corner of the website on your phone, then scroll down and click on Design Tool.
You can turn your phone sideways (landscape orientation) in order to see the Design Tool and it's tools easier.
Just click on the three lines in the upper corner of the website on your phone, then scroll down and click on Design Tool.
You can turn your phone sideways (landscape orientation) in order to see the Design Tool and it's tools easier.


The 9 icons you need to know

1) Size/Options
2) Templates
3) FREE Stock Images
4) Shapes
5) Upload (your own images)
6) Add Text
7) Background (change color/transparency)
8) QR Code
9) Layers
Getting started in the Design Tool
1) The first icon on the top left of the page is the Size/Option selection. You can change your product, the size, the options and the quantity from the Size/Options icon.
** When you see the lock icon closed, you cannot adjust the size until you click on it to open the lock **

2) The second icon is for Templates that are related to the Product you choose. You can scroll through them and click on a template and then add to it and make it your own. You can also change to another template any time you want.

3) The Third icon is for FREE Stock Images. You can select any one of them by clicking on the image. You can then resize it by dragging the tiny white squares around the edges of the image.


4) The fourth icon is Shapes. You can click on any shape to add it to your design and change it's size and color. To change the color of any shape, just click on the square color icon at the top next to the Size/Options icon.


5) The fifth icon is the Upload icon. You can upload your own image or file from this icon.

6) The sixth icon is the Add Text icon. This icon is used the most and has lots of options. Once you click on the icon, you can select the font, change the color as well as the size.
To change the text itself, type it into the box in the upper right where it says 'Enter Text Here'.
To change the font, just click on the drop down arrow next to the font and select another font.
To change the color just click on the square box with the color in it and select another color.
To change the size of the text, just drag the text from one of the small white squares around it.


7) The seventh icon is the Background icon. This one can remove any transparency layer and let you choose a background color.
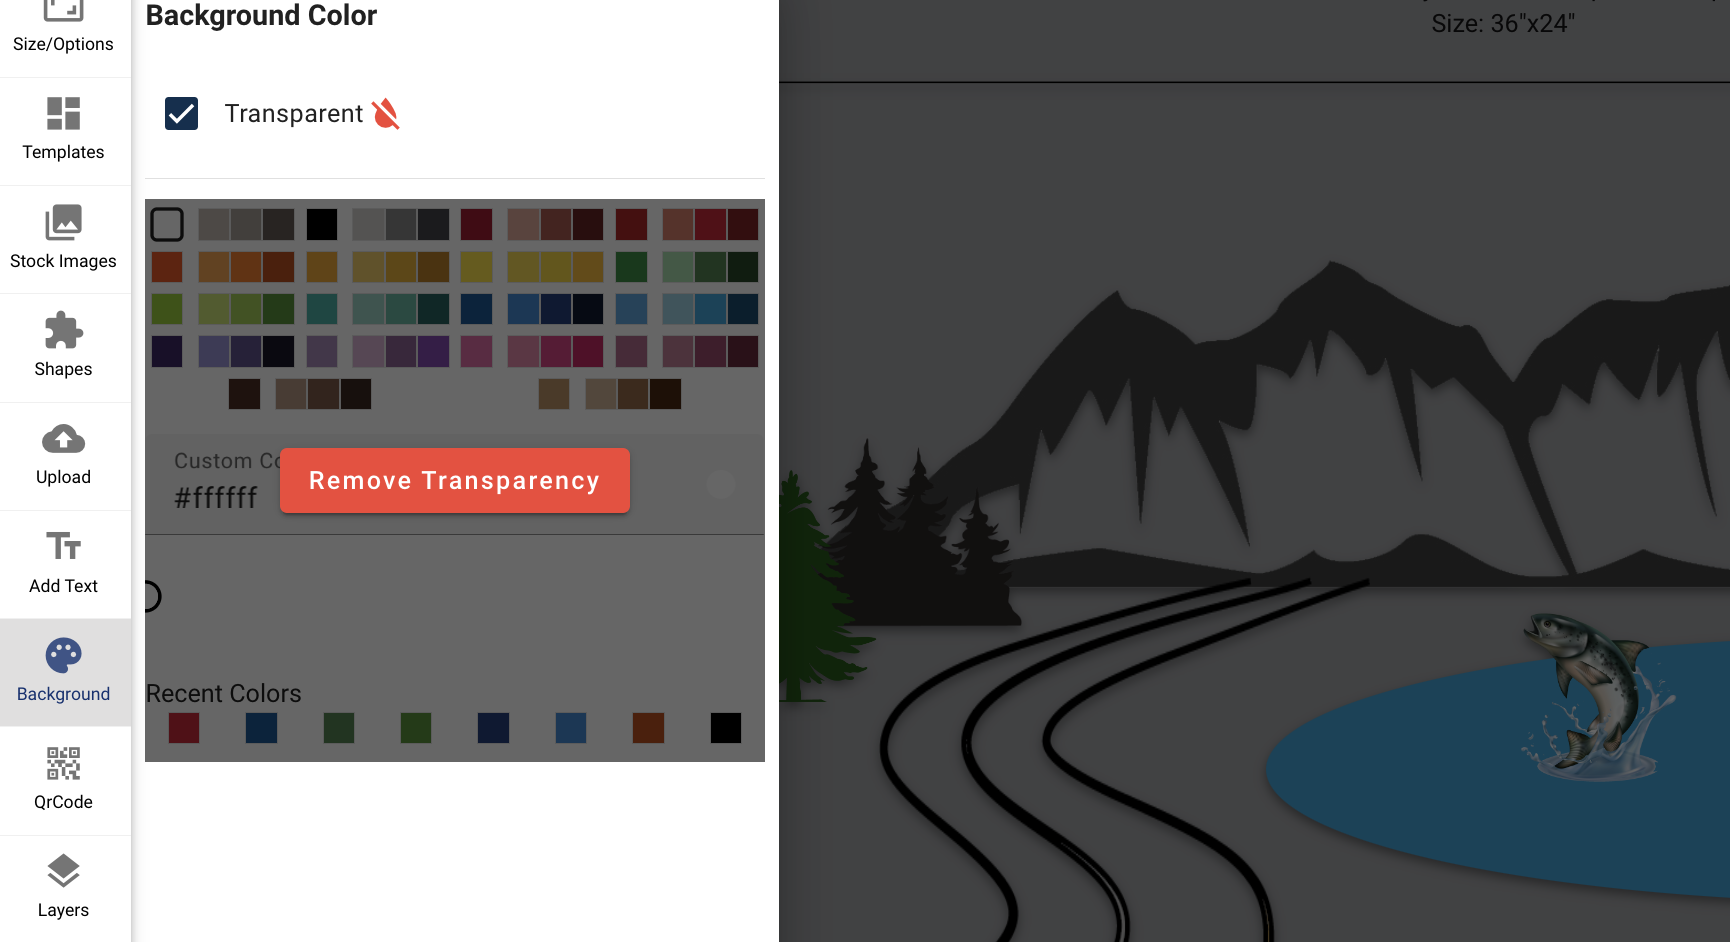
This design has a transparent background
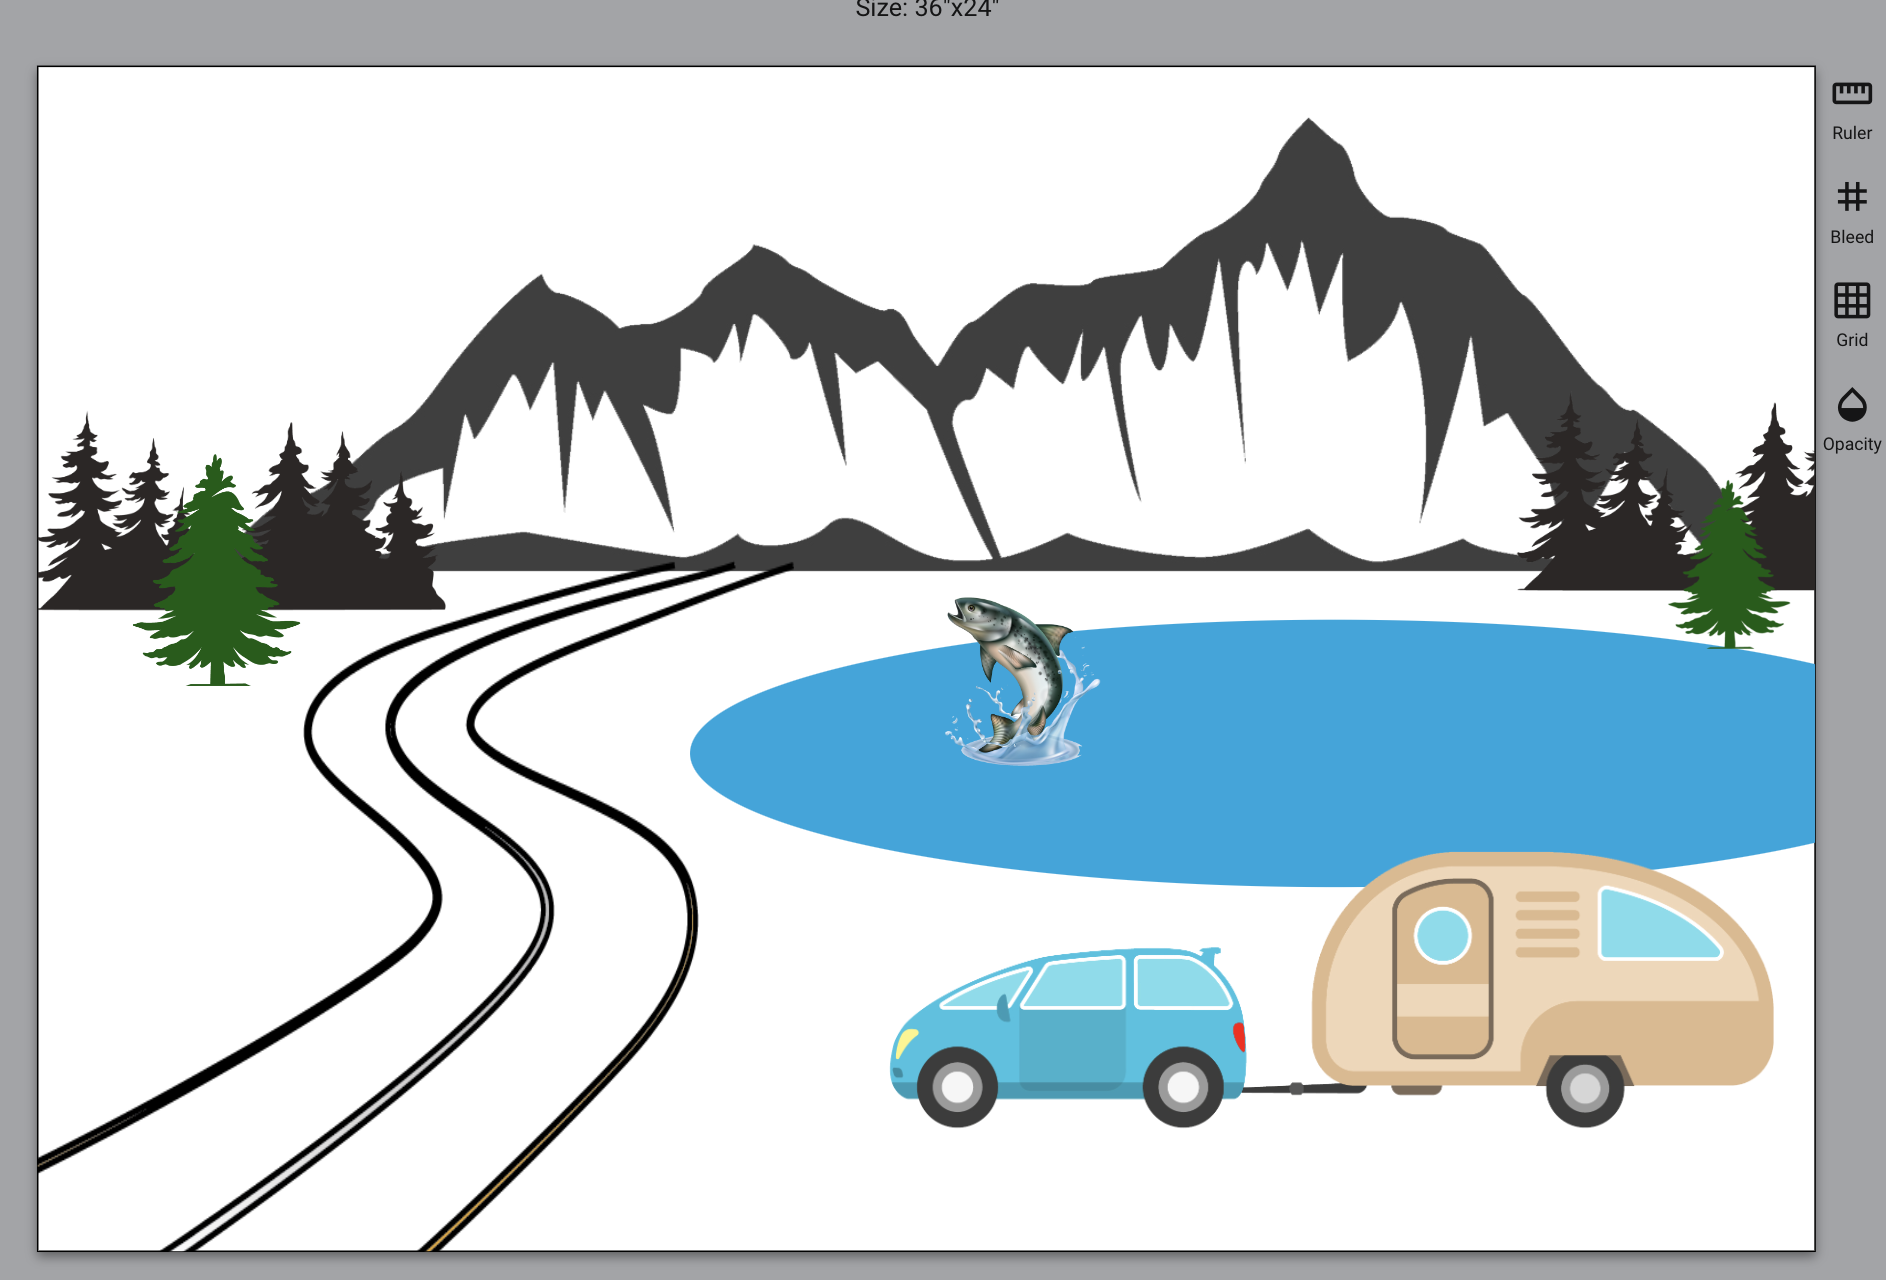
This design has a white background
8) The eighth icon is to help you generate a QR code. Just put in the website address that you want people to go to and click on Generate.

9) The nineth icon is the Layers icon. This is a quick way to select a layer (image, text, shape, etc) so that you can quickly move it around or resize it.
